Before You Step Into the Studio
You've bought your first pair of ballet slippers. Now what?
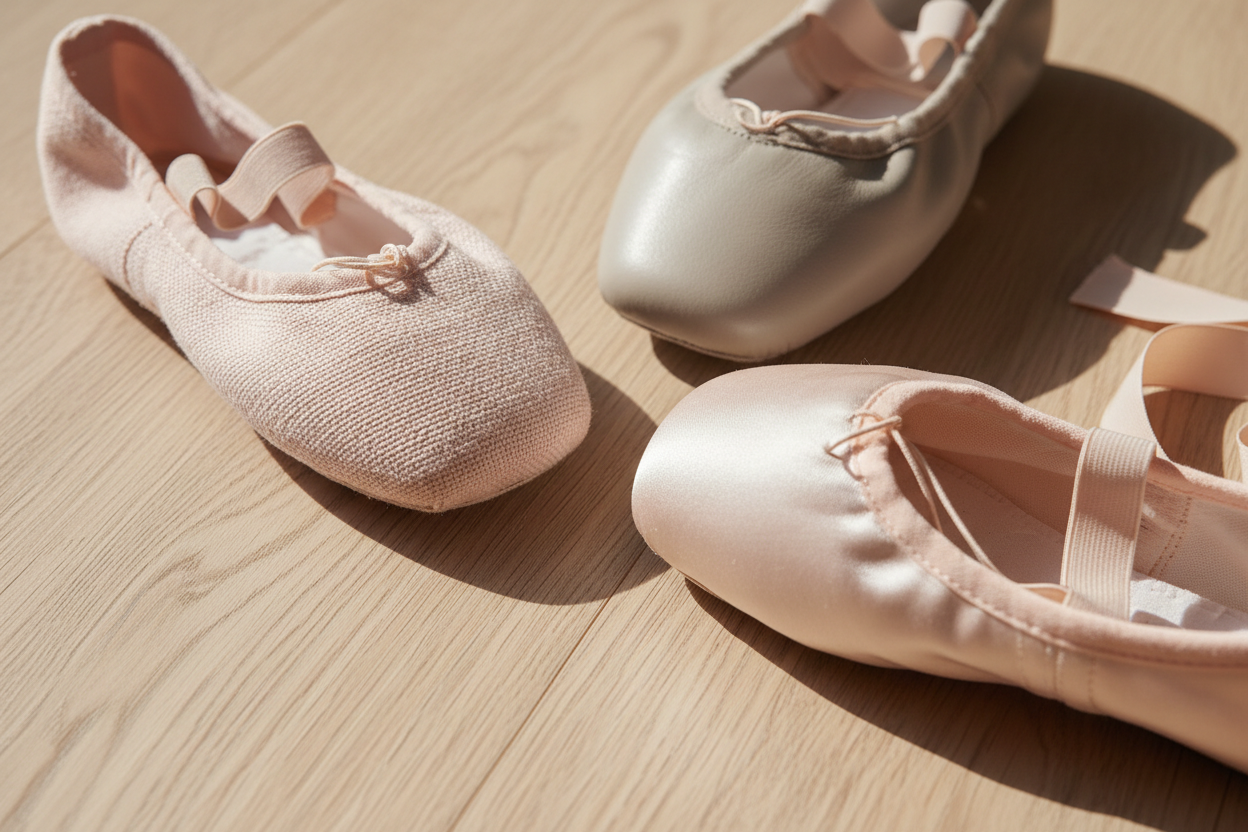
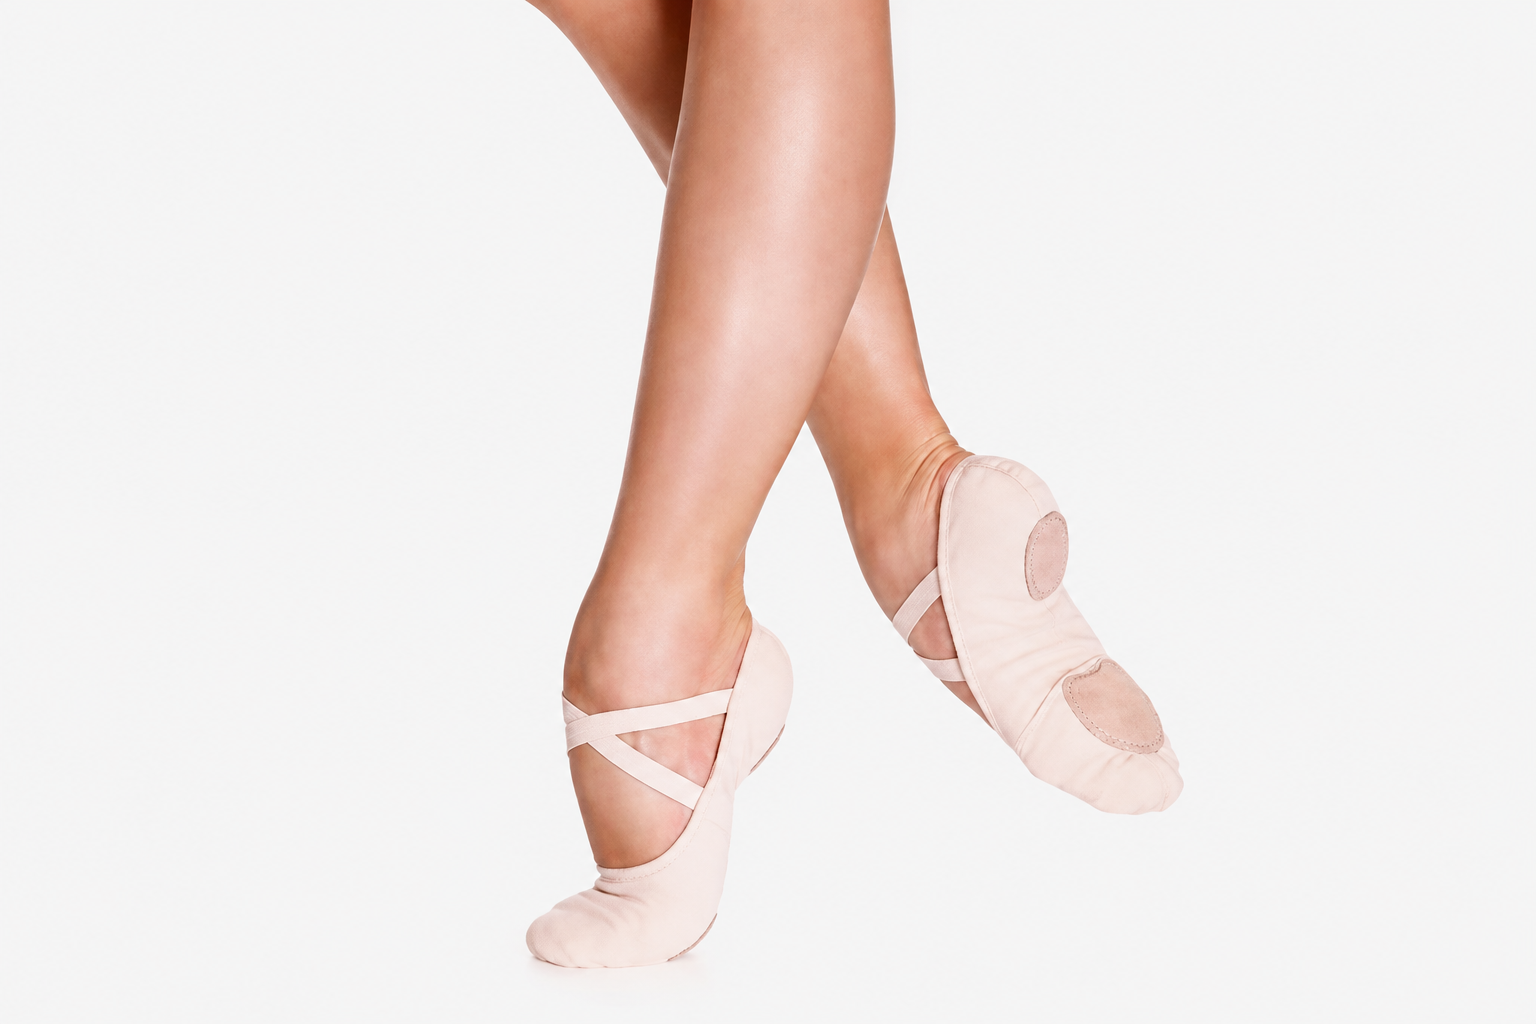
A new pair of ballet shoes isn't quite ready to wear straight out of the bag. A few small adjustments will make them more comfortable, more secure, and more professional looking from your very first class.
This guide walks through everything you need to do before you step into the studio.
Tightening the Drawstring
Most ballet slippers come with a thin elastic or cotton drawstring threaded around the top edge of the shoe. Its job is to refine the fit around your toes and the top of your foot, not to shrink a shoe that's too large.
To tighten it, put the shoe on and gently pull both ends of the drawstring at the same time. Work your way around the opening so the tension is even, not bunched at one point. You want a snug fit across the top of the foot without pinching.
Don't overtighten. If the drawstring cuts into your skin or leaves a red mark when you take the shoe off, it's too tight.
Tying and Hiding the Knot
Once the drawstring is adjusted, tie it in a small knot. A simple knot is fine. You don't need a bow, because you won't be untying it every class.
After tying, tuck the loose ends inside the shoe so they sit flat against the top of your foot. Loose strings dangling outside the shoe look untidy and can catch on things during class.
If the ends are very long, trim them with small scissors, leaving about a centimeter so the knot doesn't slip undone. Be careful not to cut so close that the knot comes apart.
Adjusting Pre-Sewn Elastics
Many ballet slippers come with elastics already sewn across the top of the foot. These are designed to keep the shoe secure on your heel during movement.
Try the shoe on and rise onto demi-pointe. If the heel stays put, the elastics are fine as they are. If the heel slips down, you may need to adjust the tension.
Some pre-sewn elastics are sewn at a single point on each side. If the shoe feels loose, you can re-sew them slightly tighter. Use a few small stitches with matching thread, and secure each stitch with a knot on the inside of the shoe.
Sewing Elastics If Needed
Some slippers arrive without elastics at all. If yours did, you'll need to sew your own.
Cut a length of elastic about 25 centimeters for each shoe. Fold the heel of the slipper down flat so you can see where the heel seam meets the side of the shoe. This is where you'll attach the elastic.
Sew one end of the elastic to the inside of the shoe at the heel seam, using small stitches and matching thread. Try the shoe on, pull the elastic comfortably over the top of your foot, and sew the other end on the opposite side at the same point.
The elastic should be snug enough to hold the heel down but not so tight that it restricts circulation or causes discomfort.
Should You Darn Slippers?
Darning means stitching a small patch of thread over the toes of the shoe to reinforce the fabric where it wears thin fastest.
For adult beginners, darning isn't essential. It's more common among advanced dancers and pointe students who go through shoes quickly and want to extend their life.
If you notice the canvas at the toes thinning after a few months of regular class, a small darned patch can help. Use a darning needle and matching thread, and stitch in tight loops over the worn area. It doesn't need to be beautiful, just functional.
For your first pair, don't worry about it. Focus on fit and comfort first.
Breaking Them In
New ballet slippers, especially leather ones, can feel stiff at first. That's normal.
The best way to break them in is simply to wear them. Walk around the house in them. Do a few gentle relevés. Let the material warm and soften against your foot.
For leather shoes, a small amount of leather conditioner rubbed into the upper can help, but use it sparingly. You don't want the shoe to become slippery.
For canvas shoes, they'll soften within a class or two on their own.
Don't try to speed up the process by soaking, heating, or bending the shoes aggressively. Patience is better.
What Not to Do
Don't cut the drawstring off entirely. Even if it feels fine at first, you may need it later as the shoe stretches.
Don't sew the elastics so tight that they leave marks on your foot. Comfort matters more than security.
Don't wash leather shoes in water. It will ruin them.
Don't put any ballet shoe in the dryer or on a radiator.
Don't wear your ballet slippers outside the studio. Pavement and dirt will grind down the sole and shorten the life of the shoe dramatically.
Don't ignore a shoe that's slipping at the heel. It's a sign the elastics need adjusting, not something you'll just get used to.
Ready for Class
With the drawstring tied, the elastics secure, and the shoes gently broken in, you're ready.
Your first class will be easier and more comfortable with shoes that fit well and stay put. And every time you slip them on, they'll feel a little more like yours.
The Edit's Selection
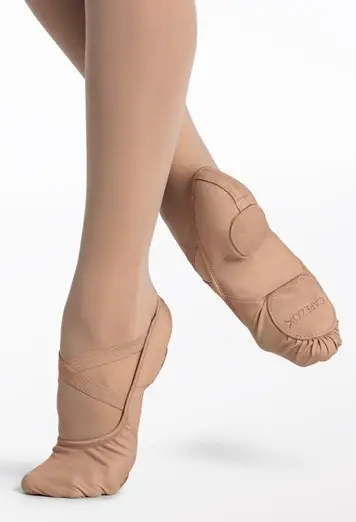
Capezio
Hanami Canvas Split-Sole
A perennial favourite among adult beginners and intermediate dancers for its lightness and beautiful arch profile.
- Lightweight
- Flattering line
- Breathable
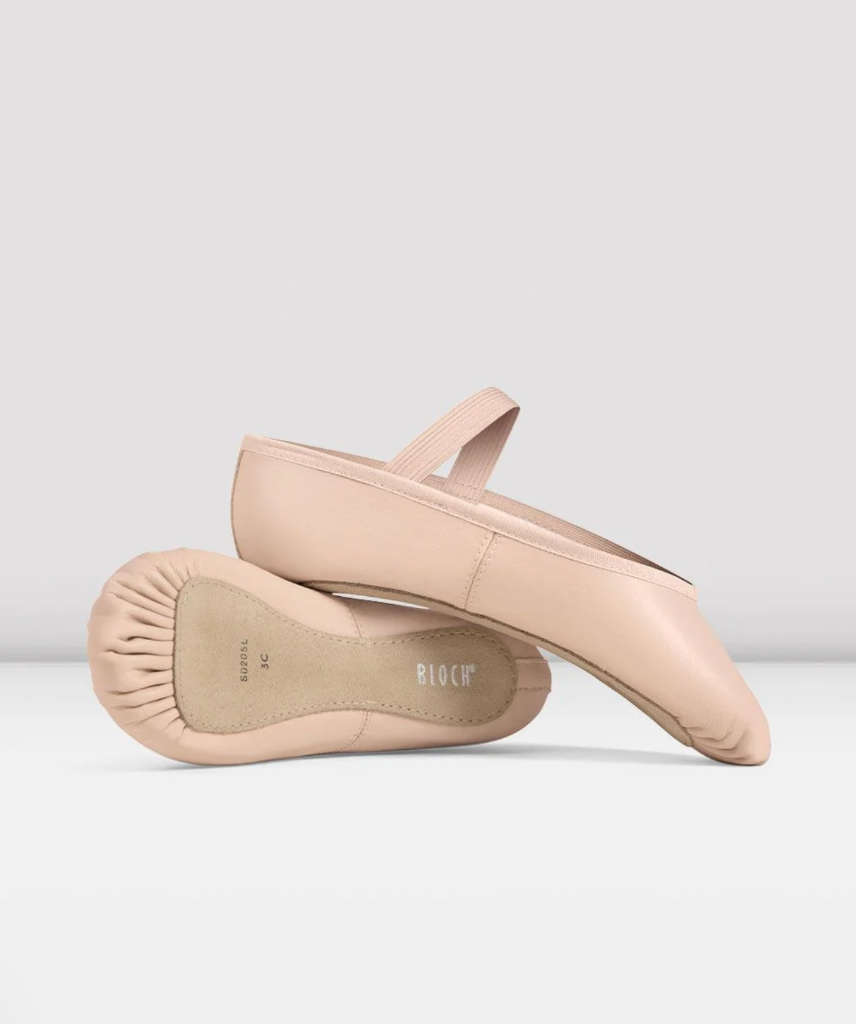
Bloch
Dansoft Full-Sole Ballet Slipper
The go-to recommendation for first-time ballet shoe buyers: forgiving, classic, and built to last a solid first year of classes.
- Supportive full sole
- Molds to the foot
- Classic leather
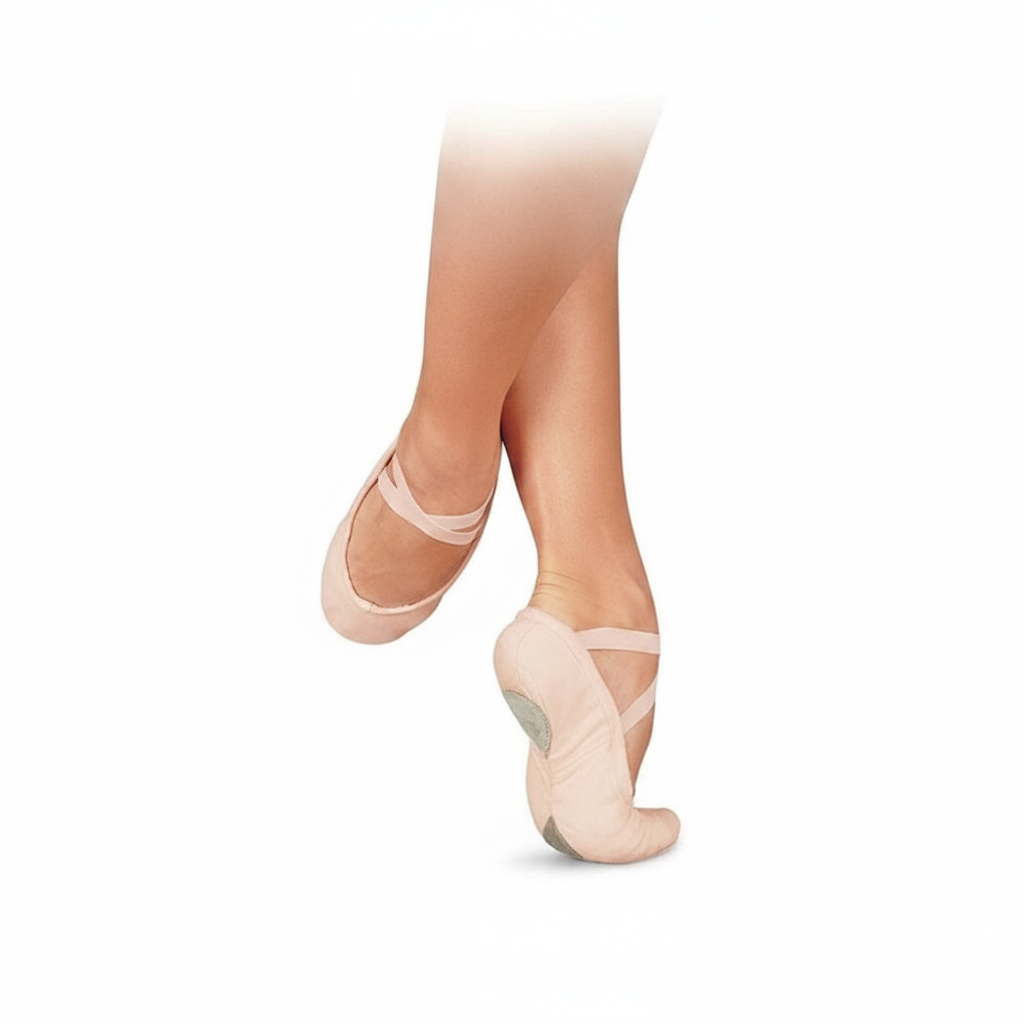
Sansha
Pro 1 Canvas Split-Sole
Quality at an honest price. Sansha's Pro 1 is a reliable first slipper that won't punish you for not yet knowing your preferences.
- Excellent value
- Durable
- Wide size range
Ad Space
About
The Ballet Edit
The Ballet Edit is a publication dedicated to ballet culture, adult beginner dance education, movement, alignment, and the enduring style of the ballet world.
Written and edited by practitioners with professional dance experience on stage, film, and television, The Ballet Edit exists to inform, inspire, and welcome adults into the art form at every stage of their journey.